What Gear Do You Need for Hiking? A Comprehensive Guide
Here’s our hiking equipment guide, detailing everything you need to know about gear selection.
Types of Hikes and How They Impact Gear Choices
The 2 main types of hiking are day hikes and multi-day treks.
Day Hiking
Day hiking includes trails that you can complete in a single day. These treks are great for beginners or those who can’t commit to staying overnight. They generally require less gear, and they can vary from an hour to an all-day adventure.
Generally, on day hikes you should bring a pack with water, snacks or a packed lunch, a first-aid kit, navigation equipment, a headlamp, and a knife. Wear weather-appropriate clothing and good hiking shoes.
Multi-day Treks
As the name suggests, these hikes take place over more than one day. Multi-day hikes are best for those with more hiking experience. They require hikers to pack everything they’ll need to stay overnight.
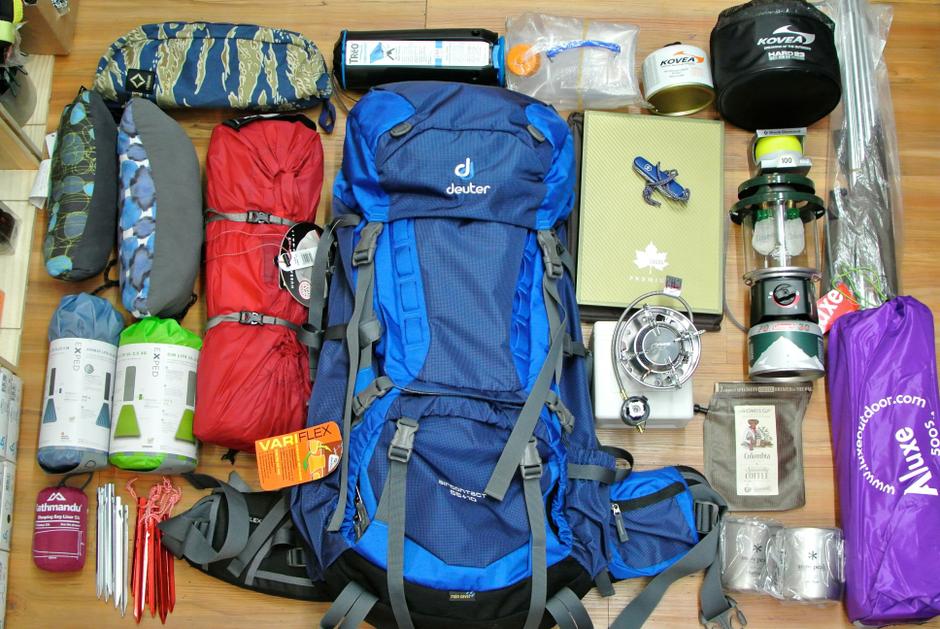
Along with the things listed under day hiking, multi-day hikers will need to bring enough food and water for the duration of the trip (or water treatment supplies), kitchen supplies, a stove and fuel, a tent, a sleeping bag or pad, enough clothes for the trip, hygiene supplies, and emergency supplies.
Let’s go into more detail about the essential hiking gear you need for day hikes or multi-day treks.
Clothing Essentials for Hiking
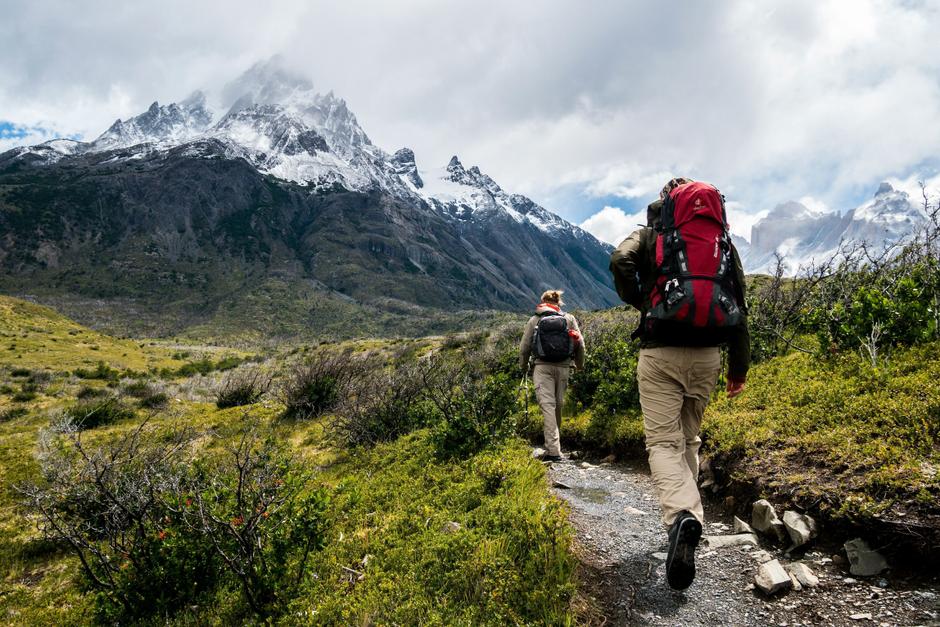
Perhaps the most important part of clothing is layers. Wearing and bringing layers on your hike will allow you to adjust to changes in weather and body temperature.
Look at the weather forecast before you go and dress appropriately. On multi-day hikes, you’ll want to be prepared for any kind of weather, especially because weather can change rapidly at high altitudes.
Your base layers should be light, comfortable, and moisture-wicking. You can bring a long-sleeved shirt or jacket to put on over your base layers. Lightweight fleece jackets and pants are great options. For your outer layers, raincoats and pants, gloves, and a warm hat will keep you warm and dry in cold or wet weather.
In chilly weather, you can wear thermal clothes to help you regulate your body temperature. On the other hand, in warm and sunny weather, think about what clothing you’ll want for sun protection. If you opt for less coverage, make sure you cover up with sunscreen. Brimmed hats are good for keeping the sun off your face and neck.
Best Fabric Choices for Hiking
- Wool
- Polyester/nylon
- Fleece
Avoid cotton—it soaks up moisture and dries slowly.
Footwear
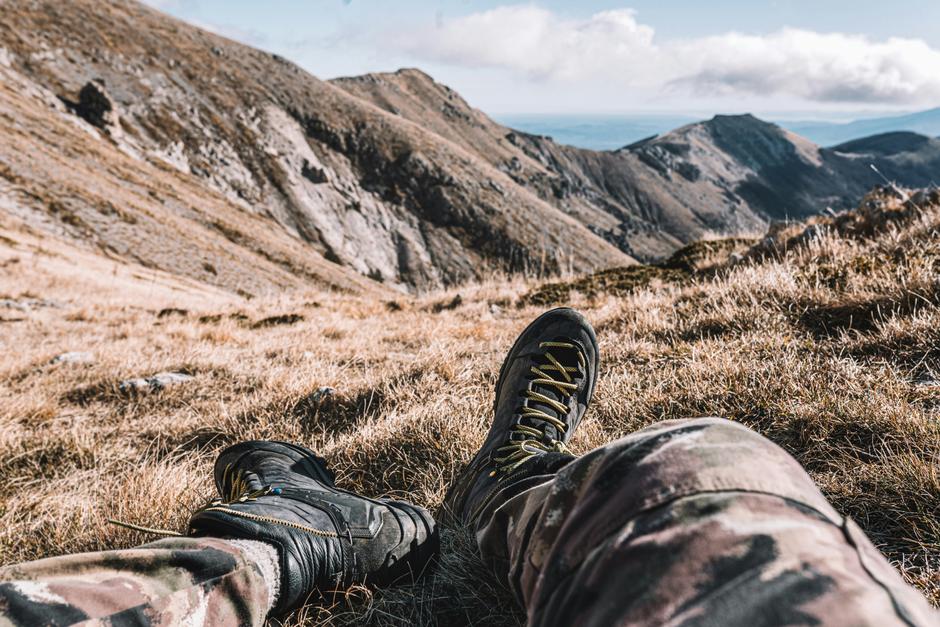
Your footwear will depend on the length and terrain of your hike. The main options are hiking shoes/trail runners, hiking sandals, and hiking boots. They each have benefits and drawbacks.
Advantages of Hiking Shoes and Trail Runners
- Great for smooth trails and shorter hikes
- Breathable
- Easier to break in
- Versatile
- Keep feet cool
Disadvantages of Hiking Shoes and Trail Runners
- Less supportive
- Wear out faster
Advantages of Hiking Sandals
- Breathable
- Lightweight
- Water-friendly
- Comfortable
- Versatile
- Easily adjustable
Disadvantages of Hiking Sandals
- No ankle support
- No foot protection
- No warmth
- Less traction
Advantages of Hiking Boots
- Great for rocky trails and longer hikes
- Durability
- Stability
- Foot and ankle protection
- Keep out mud, snow, and water
- Warm in cold weather
- Good traction
Disadvantages of Hiking Boots
- Heavy and bulky
- Harder to break in
It’s best to choose sturdy footwear that fits well. Break in your shoes on shorter hikes before you take them on longer trails.
We suggest trying shoes on in a store before purchasing. If you want to buy them online, check the return and exchange policy to ensure you can get the right fit, and consider buying from a brand you’ve bought before so you’ll have an idea of how they’ll fit.
Wear socks you plan on hiking in when you try them on. Try them at the end of the day when your feet are slightly swollen. Spend some time walking around the store to get a feel for the shoes. Walk up and down stairs and an incline if you can.
They should be close-fitting—with room to wiggle your toes—but not tight. Experts recommend going up half a size or a full size to prevent toe bang (hitting your toes on the inside of the shoe when going downhill).
Backpacks and Packing Tips
Choosing the right pack is just as important as the gear you put in it.
Daypacks
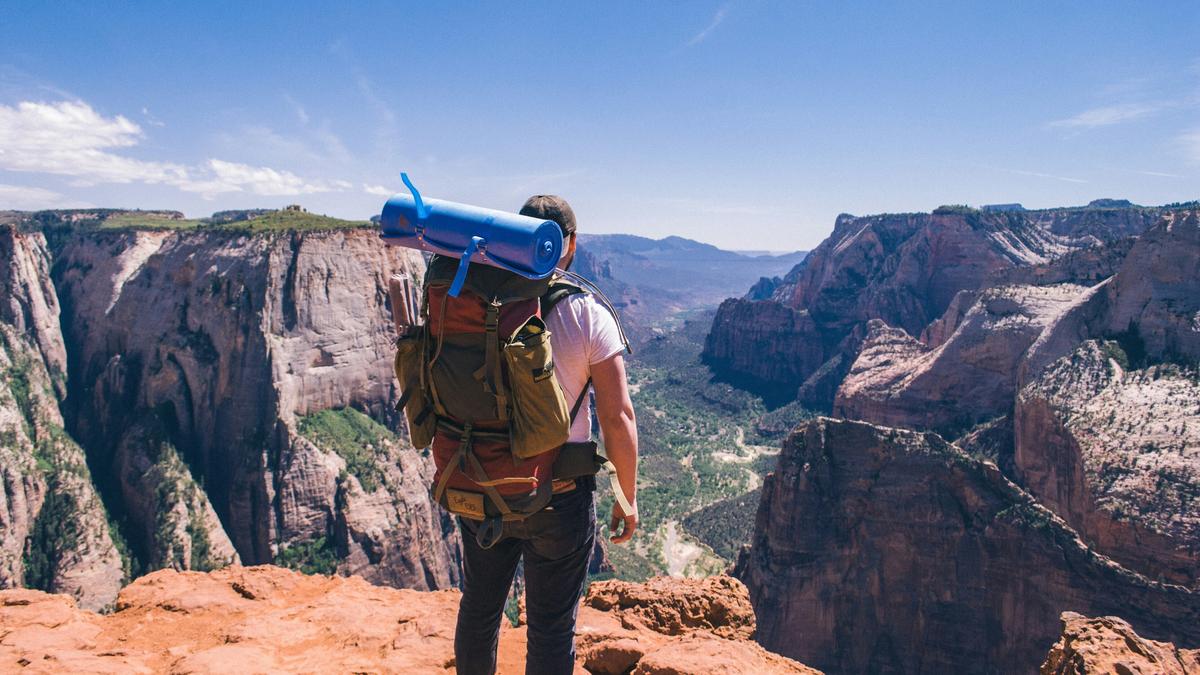
For short hikes, a small pack that holds water, snacks, a first aid kit, and extra layers will suffice. On an all-day hike, a 21–35-liter pack will allow you to carry all the essentials and some extra items like a camera. If you are a parent carrying gear for your kids, you may want a pack that’s 36-50 liters.
Daypacks can be frameless or have an internal frame. Frameless packs are lightweight and compact, great for smaller loads. On the other hand, packs with an internal frame help support heavier loads.
Consider getting packs with water bottle pockets on each side for easy access and multiple compartments to keep your gear organized. Many packs come with a sleeve for a hydration reservoir or a built-in reservoir you can fill with water.
Be careful not to overpack; daypacks generally should not weigh more than 10% of your body weight when full.
Backpacking Packs
For multi-day hikes, you’ll need a bigger pack.
1-3 nights: 30-50 liters
If you’re an efficient packer, you can use a pack this size for a weekend trip. You’ll need to plan carefully to pack light.
3-5 nights: 50-80 liters
This is often the most popular size for backpackers. It’s perfect for warm weather trips of this length, and you can take it on shorter trips if you want extra space.
5+ nights: 70+ liters
On long treks of 5 or more days or multi-day winter treks, you’ll want plenty of space to carry everything you need.
Backpacking packs shouldn’t weigh more than one-fifth of your body weight. Though small hikers may end up carrying more than that.
Trekking Poles: Do You Need Them?
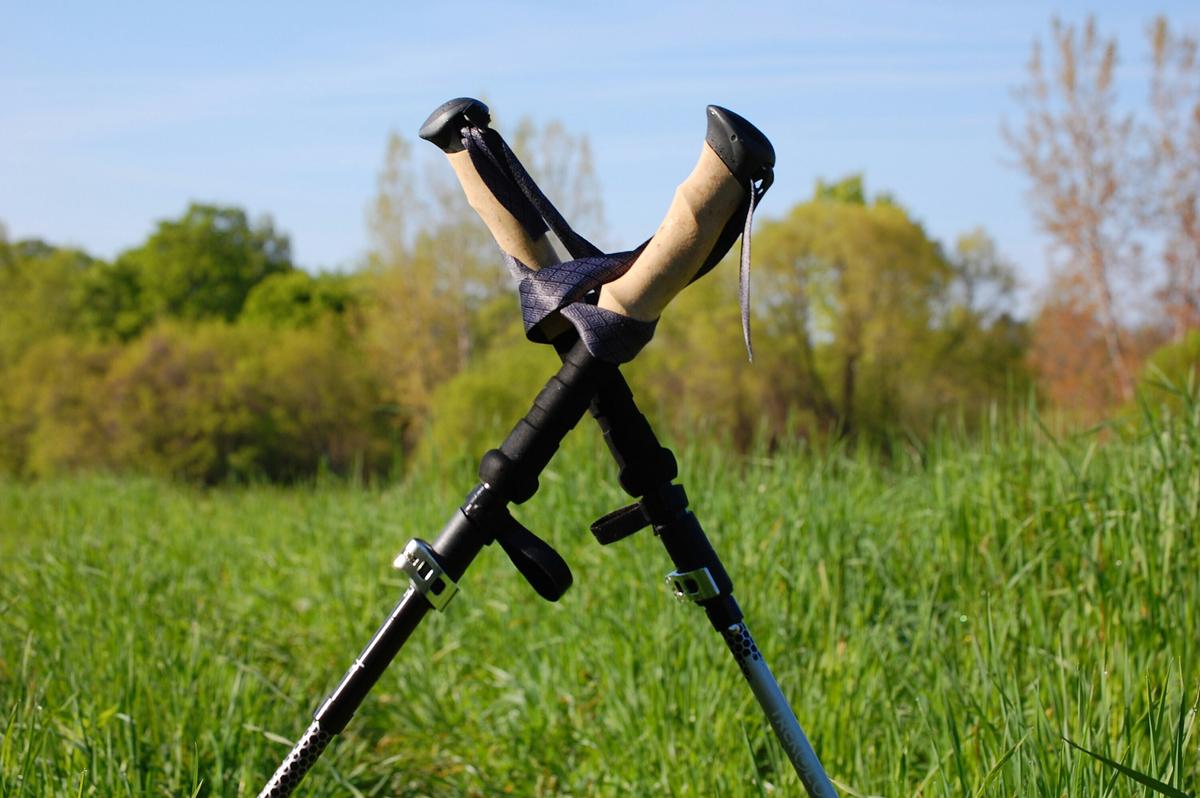
Hiking poles are optional pieces of gear that are often debated in the hiking community. Some hikers bring them on every hike while others never use them.
Trekking Pole Benefits
- Increase stability and balance
- Decrease joint stress
- Ease crossing uneven terrain or rivers
Trekking Pole Drawbacks
- Occupy your hands
- Catch on or hit other hikers
- Use more energy
If you decide to hike with hiking poles, here are some tips for choosing the right ones. Aluminum and carbon fiber are both good lightweight options. Poles with cork or foam grips tend to be more comfortable than hard plastic grips. Most poles have adjustable heights. Your elbow should sit at a right angle when your poles are the correct height.
Hydration
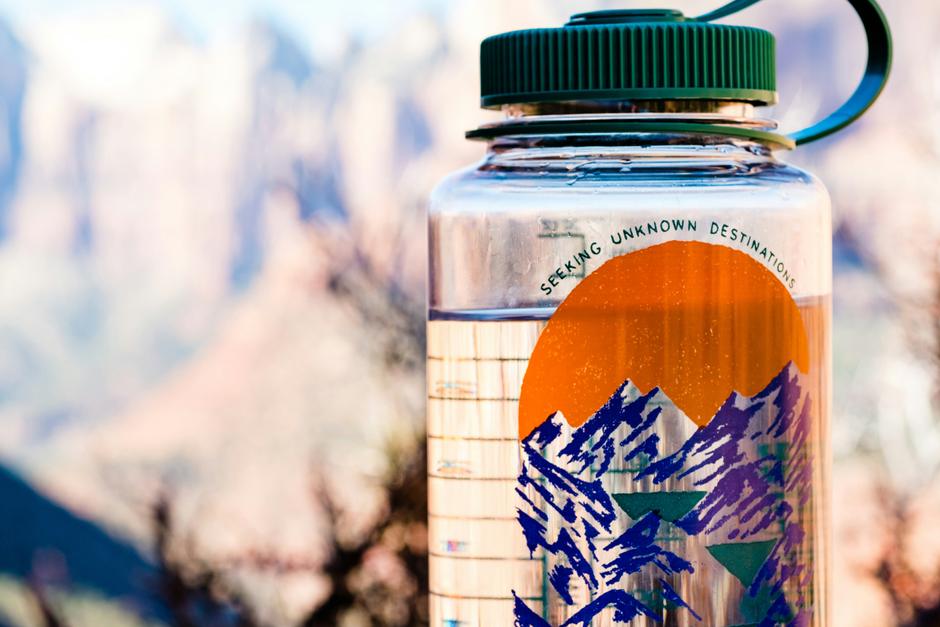
Hydration is one of the most important parts of planning your gear. The amount of water you need to pack and drink depends on many different factors, but generally, you should drink about half a liter of water per hour of moderate activity at moderate temperatures.
Hydration Options
- Hydration packs
- Convenient with tubes that connect directly to a reservoir/bladder in your pack.
- Water bottles
- Simple. You likely already have one you can use.
- Water filters
- Allow you to use water you find on the trail. Filter out bacteria that are dangerous to drink.
- Chemical treatments
- Allow you to use water you find on the trail. Kill viruses and bacteria.
Which you choose depends on your preference and the length of the trek.
Though it is rare, overhydration can occur when you drink too much water. To prevent overhydration, monitor how much you drink, and don’t drink more than you sweat.
Nutrition on the Trail
Nutrition is another essential part of preparation. Always pack additional food in case of an emergency.
Snack Ideas
- Trail mix
- Jerky
- Cheese and crackers
- Nuts
- Dried fruits
- Energy bars
On longer hikes, you’ll want to pack a lunch or something with a bit more substance. You can bring anything that doesn’t require refrigeration. Multi-day hikes require you to bring more food, but you can keep it simple with lightweight portable foods that you like.
Here are some ideas for meals to bring on the trail.
Breakfast
- Energy bars
- Eggs
- Pancakes
- Oatmeal
- Cereal
Lunch
- Peanut butter and jelly sandwiches
- Fruit
- Chips
- Tortilla wraps
- Hard-boiled eggs
Dinner
- Freeze-dried meals
- Powdered soup
- Ramen noodles
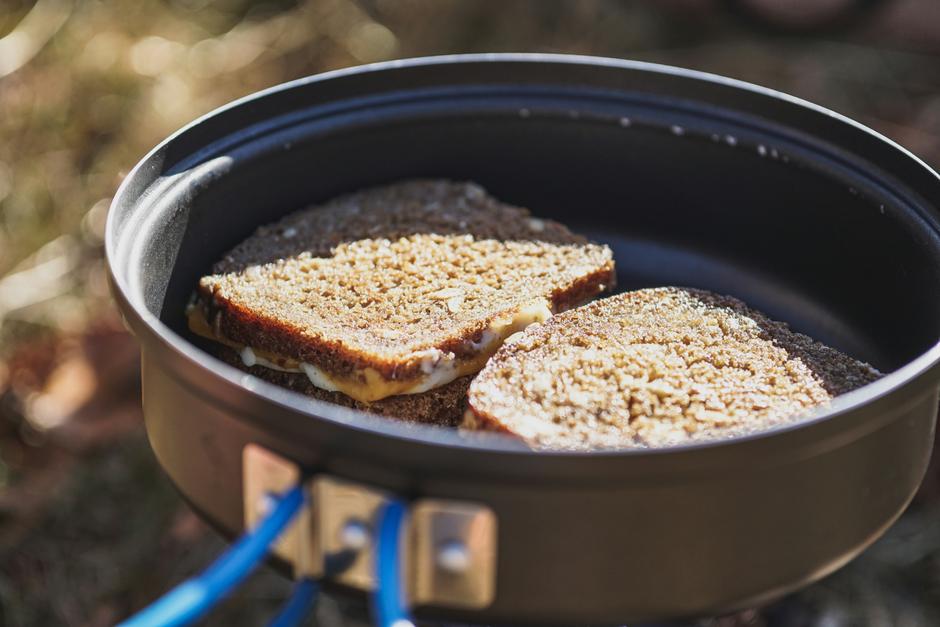
Along with more food, when backpacking you’ll need to bring supplies to cook with. Whatever your meal plans, make sure you have the equipment to prepare them. This may include:
- Backpacking stove
- Fuel
- Cookset (with pot grabber)
- Utensils
- Dishes/bowls
- Mug/cup
- Collapsible water container
- Biodegradable soap
- Small quick-dry towel
- Bear canister or food sack/hang bag + 50' nylon cord
Navigation and Safety Equipment
When out in the wilderness, you want to be prepared for anything. Carrying navigation equipment and safety supplies will help you have peace of mind during your adventure.
Here’s what you need.
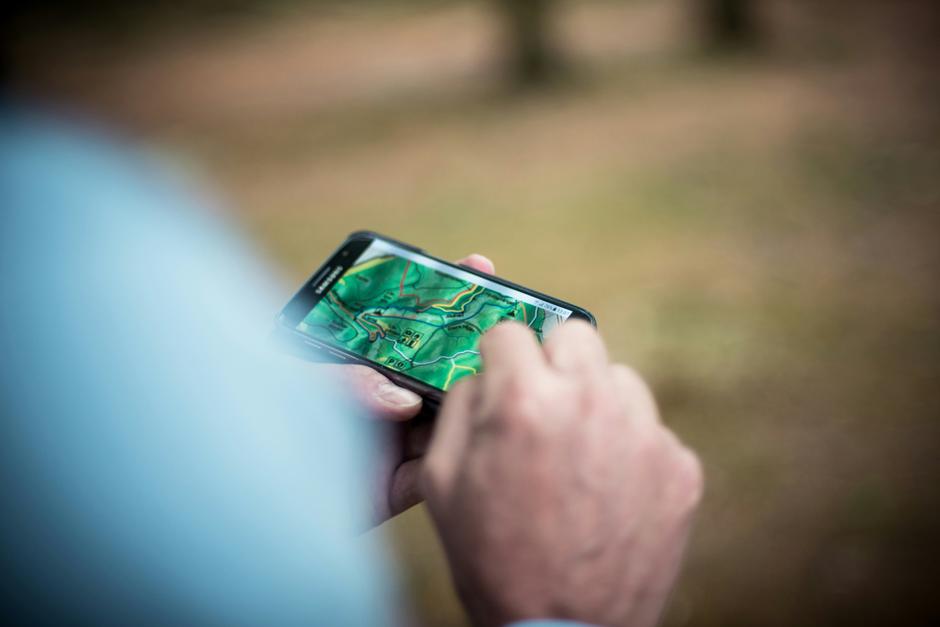
Navigation
- Map (keep dry in a waterproof sleeve)
- Compass
- GPS device
Safety
- First-aid kit
- Lighter/matches
- Whistle
- Multi-tools
- Emergency blanket
- 2 itineraries: 1 for you and 1 left with a friend (especially on multi-day treks)
- Headlamp or flashlight
Hygiene and Health
Don’t forget these items, especially when backpacking.
- Toothbrush and toothpaste
- Hand sanitizer
- Sanitation trowel/folding shovel
- Toilet paper/wipes and sealable bag
- Menstrual products
- Prescription medications
Additional Accessories for Comfort and Convenience
These items can make your life easier on the trail.
- Sunglasses
- Hats
- Sunscreen
- Portable charger
- Urinary products
- Bear spray
- Insect repellent
- Camera
- Star chart
- Reading material
- Journal and pen/pencil
- Games or cards
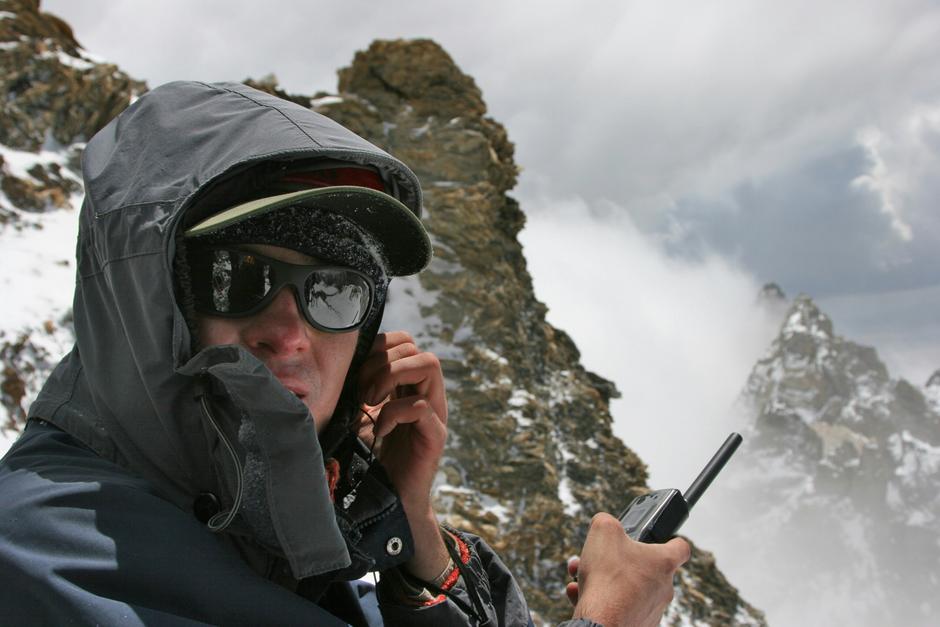
- Two-way radios
- Binoculars
Tips for Choosing Hiking Gear
If you’re a beginner, this list might be overwhelming, especially if you’re trying to find the best hiking gear for beginners.
Here are some tips to help you.
Start With the Essentials
These 10 items are the most important. If you bring nothing but these on your trek, you’ll likely be okay.
- Water
- Food
- Extra clothes
- Navigation
- Headlamp/flashlight plus extra batteries
- Sun protection
- First aid
- Knife
- Fire starter
- Shelter (emergency blanket)
Buy Your Pack Last
Once you have all the essentials, you’ll know what the smallest size pack you can get is. From there, you can decide if you want a bigger pack to carry more than the essentials.
Test Gear Before Hitting the Trail
The last thing you want is to get on the trail, take out an item, and discover that it doesn’t work or that it’s more complicated than you realized.
Test everything before you go. Wear your hiking clothes around the house to ensure they’re comfortable. Break in your hiking shoes or boots. Set up your tent at a park or in your backyard. Familiarize yourself with the items in your pack.
Getting Gear on a Budget
You can still find good quality items on a budget.
But first, look around your house and see what you already have. You likely have clothes, a flashlight, a water bottle, a backpack, and other equipment that will work for your first few hikes.
For items you don’t already have, you can buy used items from places like thrift stores or online marketplaces. If you prefer new gear, you can also wait for sales.
The only item truly worth spending on is footwear. If you don’t have good quality shoes, your hikes may turn out terrible. You can get everything else used.
Conclusion
Being prepared and prioritizing comfort and safety is the key to a fulfilling hiking experience. Remember the fundamentals—clothing, footwear, hydration, nutrition, navigation, safety, health, and hygiene.
With gear tailored to your trek’s length, terrain, and weather, you can enjoy the beautiful outdoors stress-free. Whether you’re hiking for an hour or several days, with the right equipment, you’ll be ready for the trail’s challenges and rewards.

